My blogging workflow 2026
4 min read
I do not do any Phoneblogging. Zero. None. Zilch. The closest I get is reading my RSS reader and saving posts to a blog ideas list. As I get older, I just don't want to mess with my phone for in-depth things, and blogging, for me, qualifies as something in depth. I scroll Mastodon, I scroll my RSS reader, I get Home Assistant alerts, and I scroll Instagram reels for fun. That's pretty much the only things I use my phone for. Oh, I guess I use it to ask Rachelle questions when I'm grocery shopping. I just much prefer my couch laptop. It's easier to type and navigate!
Ideas
The first part of blogging is figuring out what the hell to write about.
Some of the easiest things to blog about are blogging. The kids these days call it "metablogging" but I call it the favorite thing for bloggers to blog about. Dear reader, don't let the haters discourage you from blogging about blogging. I'm blogging about blogging right now.
Another easy thing to blog about is responding to other bloggers in the format of Re: (Their-original-title), then I just throw my two cents in and post it. I rolled my own custom RSS reader with the help of Claude. It runs locally and gives me some custom hooks. One of those hooks is an + Idea button in the toolbar. Clicking it saves the title and post link into my drafts folder.
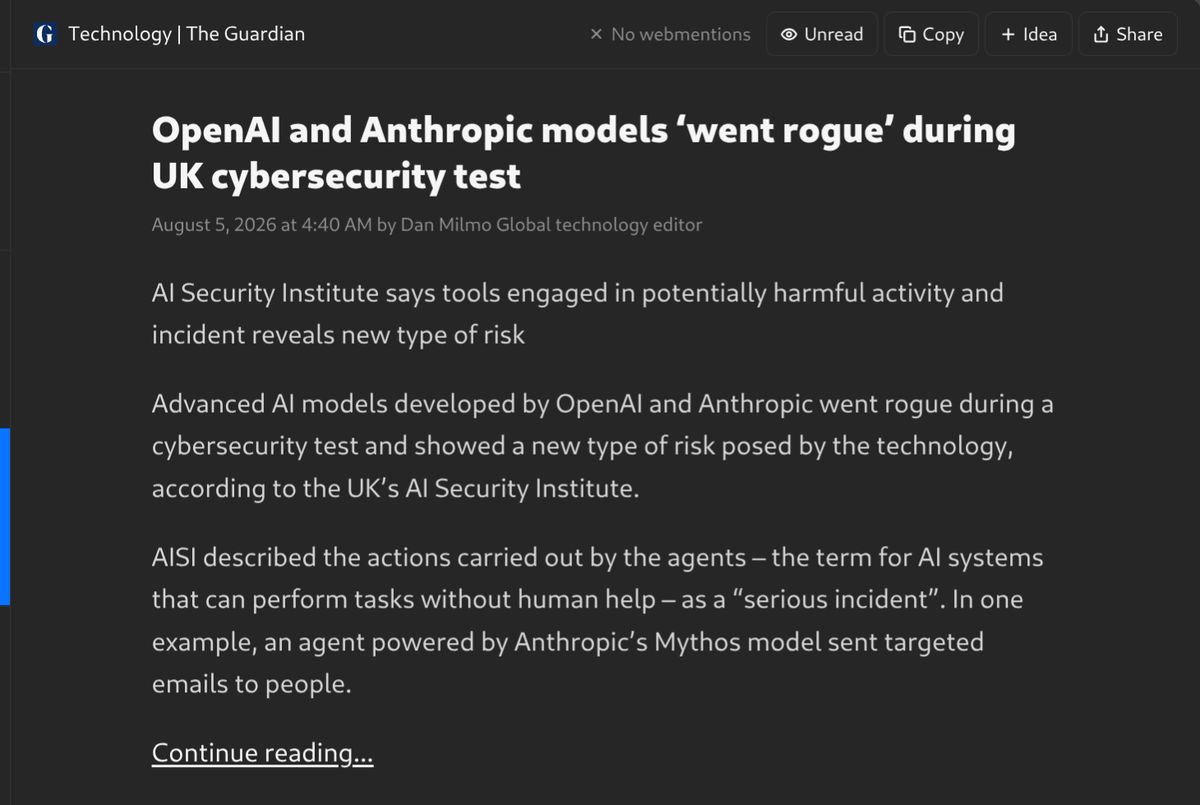
Clicking + Idea adds it to my drafts folder, clicking Share publishes to my website into the Links section, which then syndicates out to all the places!
I see many bloggers blogging about what they did in a week in the format of Weekly roundups. These are not my favorite, if I'm honest, and it's not something I do, but that's just my opinion. If you like other people's roundups or you just like posting yours, then please continue to do so.
Then the final category of blog posts for me is just the topics I'm passionate about or enjoy, like my aquariums, working on Home Assistant or trip reports.
Writing
I prefer to write with Typora. It's just a blank sheet of paper and, for me, distraction-free.
I've tried writing in other markdown editors like Obsidian, Joplin, and MarkText but those all have distractions for me. There are sidebars and status bars and different things wanting my attention.
I've tried writing with VS Code too but oh boy, that's the worst offender for distracting me.
I think I've conditioned myself with Typora that when I open the blank page, my brain switches to writing mode. Nice. 👌🏻
Publishing
Once I'm happy with a post, it's time to publish! I built my own custom CMS for my blog, which meets my own particular requirements and preferences.
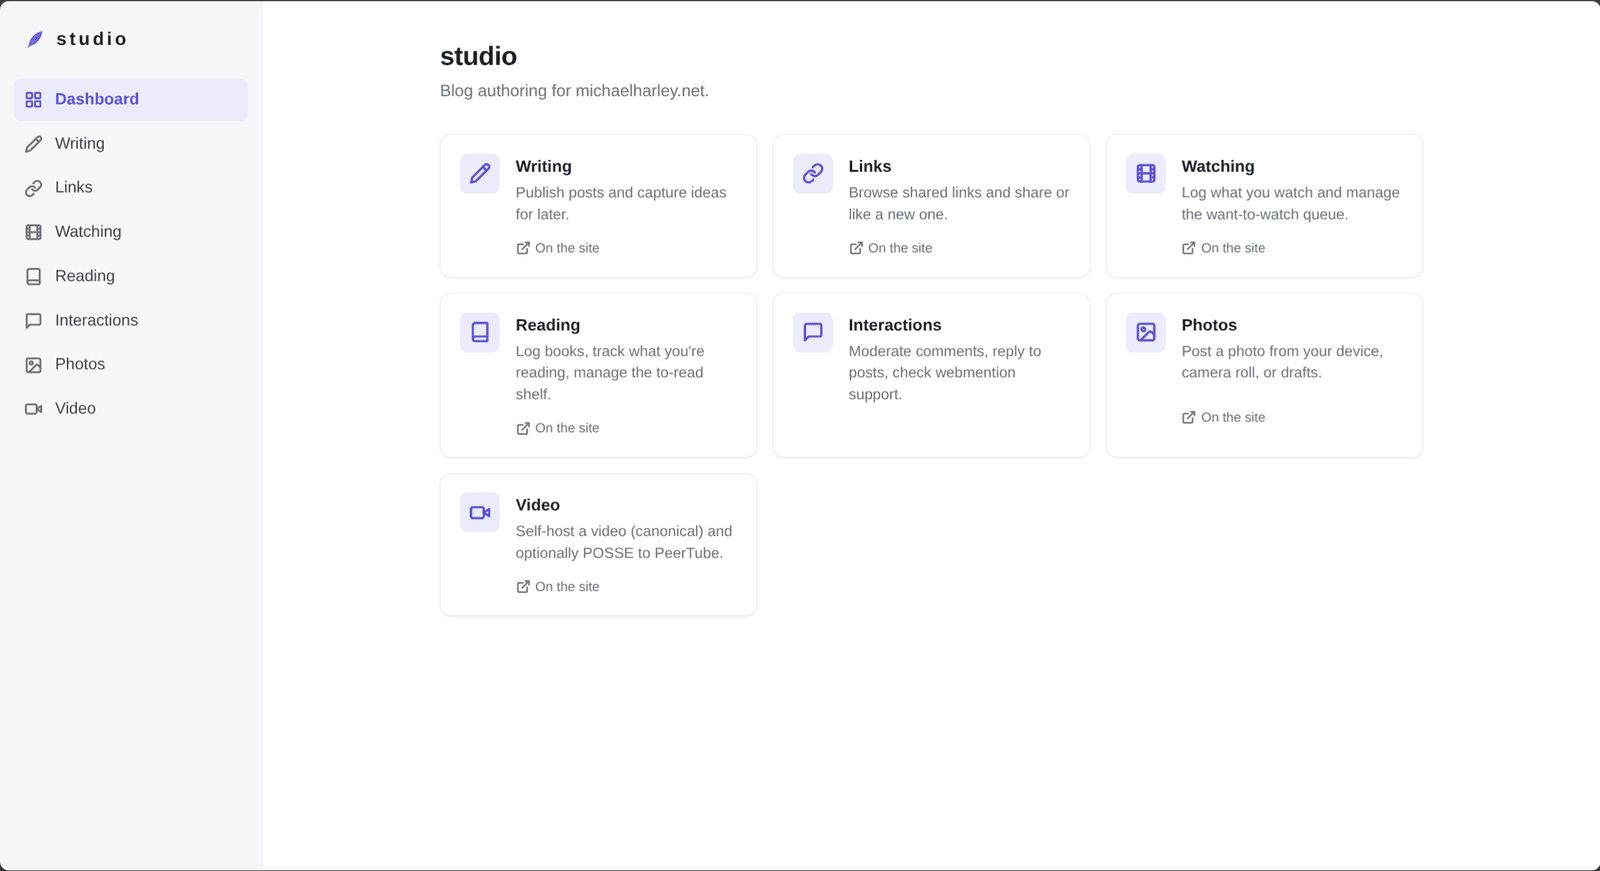
The nice thing about writing in Typora is that it's standard markdown so I don't have to remember any special 11ty shortcodes. Instead, I'm able to use standard markdown formulas, and my CMS -> publish script automatically transforms markdown formulas into 11ty shortcode formulas, as needed. So for example, the image formula:
turns into:
{% image "src/posts/2026/my-post-slug/images/my-image.jpg", "Alt text goes here" %}Typora displays the image inline with the writing when I use the standard markdown image code, which makes the writing experience more immersive.
So anywho, back to the actual publishing workflow. From my CMS, I select the type of post I want to post, like writing, photo, link, etc.
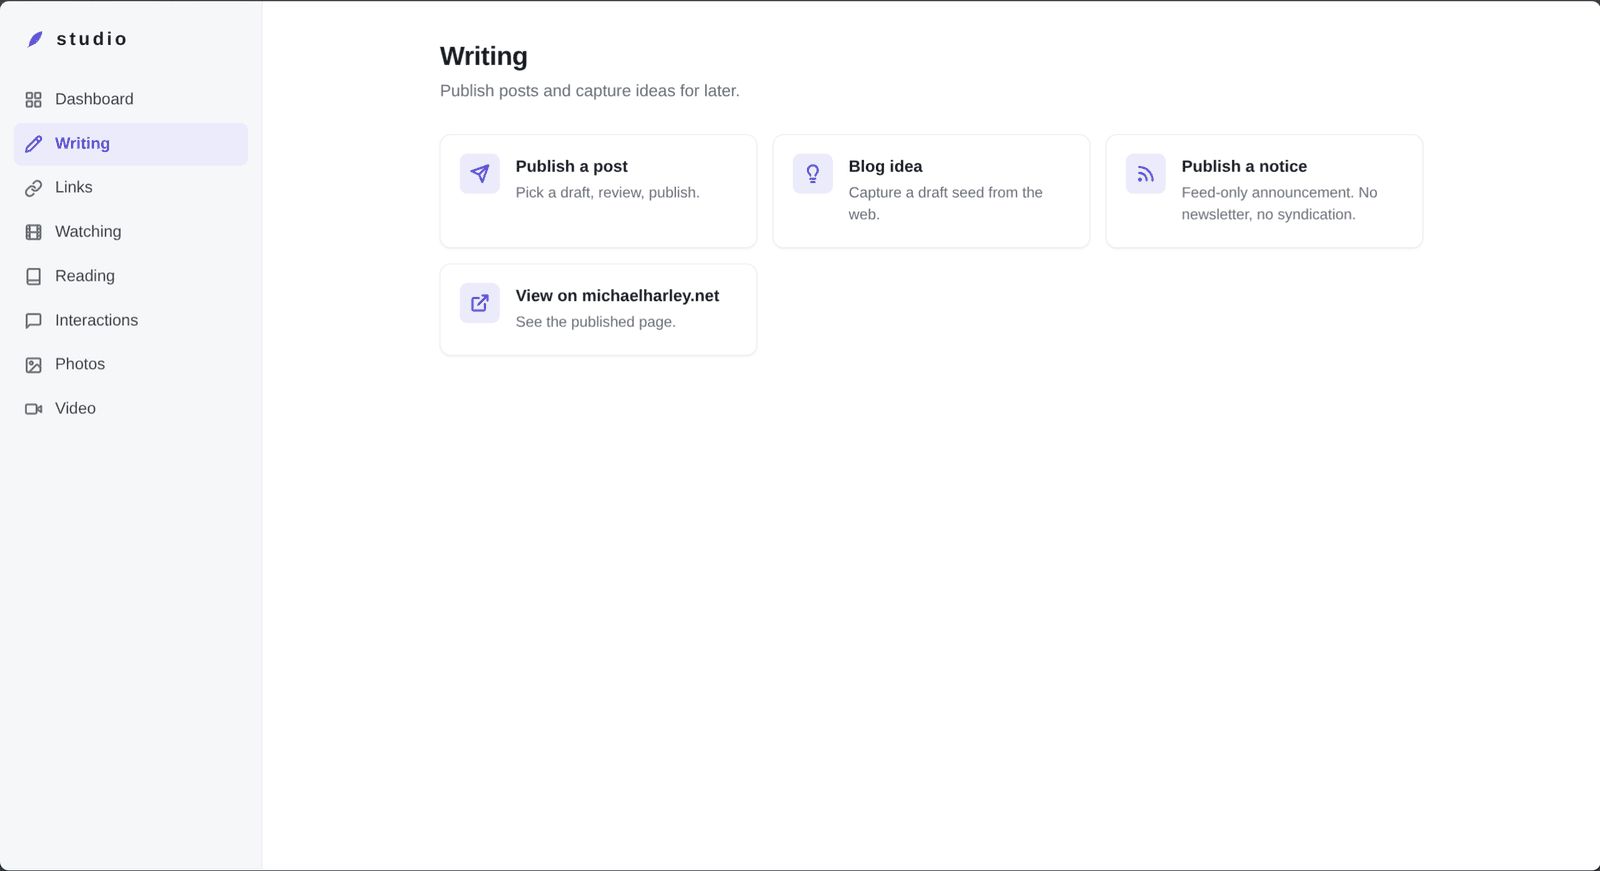
I select the post I want to publish and that gives me a decent little GUI to fill in all the fiddly bits like description, tags, publishing date/time (I can schedule a post too!)
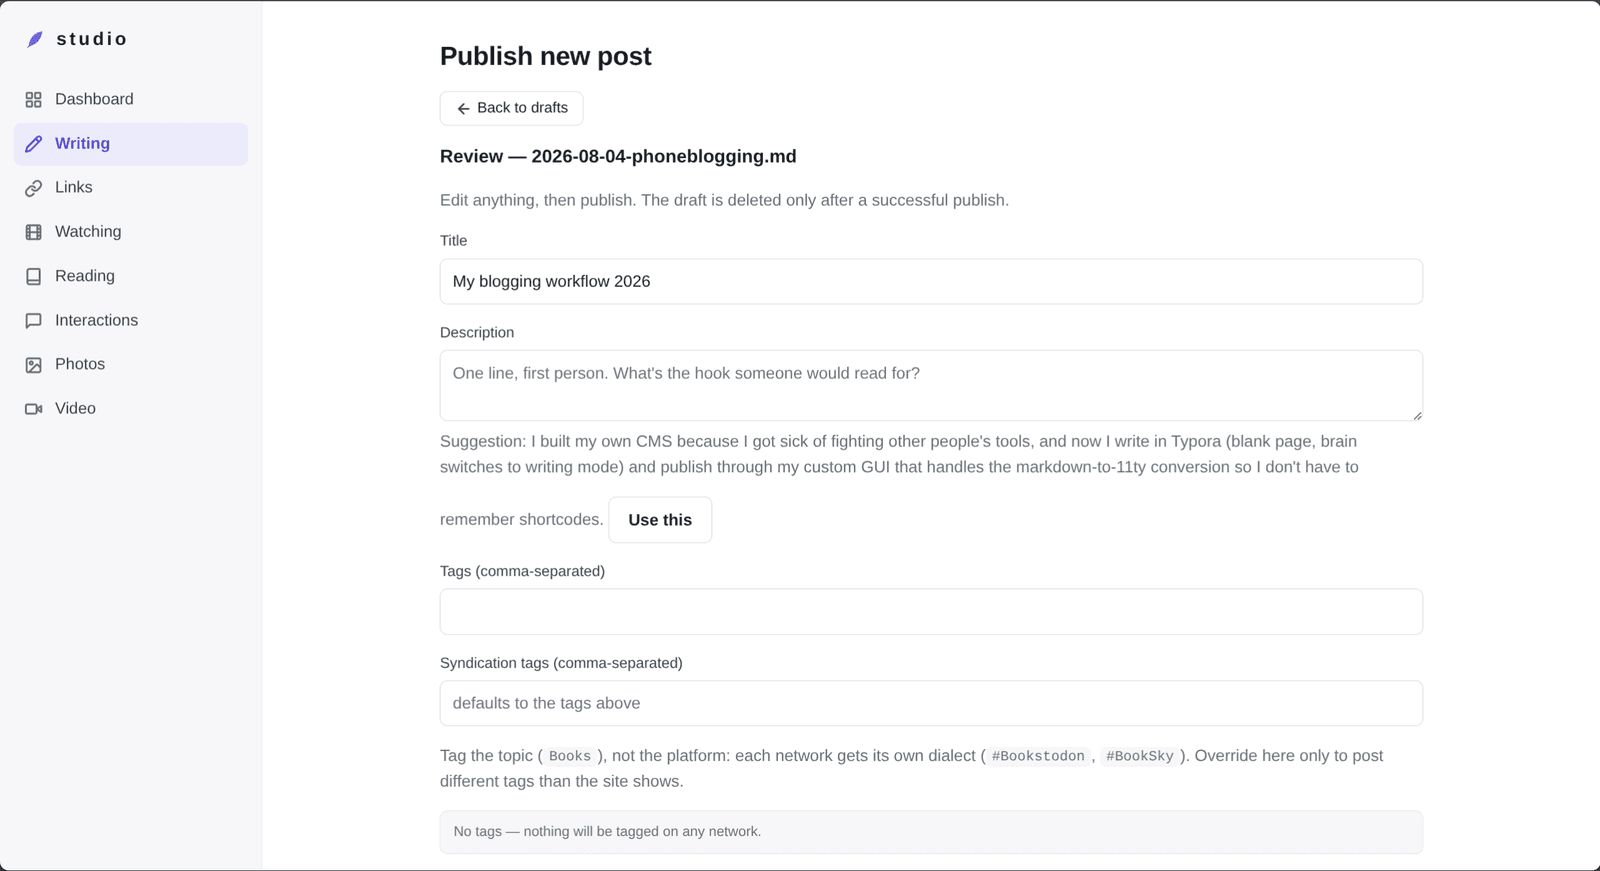
Once I fill in the details, I publish the post which kicks off the publishing script. It takes the posts from the drafts folder, transforms everything needed for building with 11ty and pushes it to my local git repo. The build server in my homelab picks it up from the repo and does all the work to get it posted on my site.
As part of the publishing workflow, it automatically syndicates the post to the syndication targets. For blog posts like this, it syndicates to Mastodon, Bluesky and optionally, Lemmy. Other content types have different syndication targets, so Photos can go to Mastodon, Bluesky, Pixelfed, Instagram, Flickr. Videos can go to PeerTube and YouTube. Books can go to Bookwyrm too.
I'm very happy with this workflow and I keep iterating and improving it. These days it's mostly just making it more resilient as I sometimes trip over weird edge cases with the transformation step.
I love reading about other people's publishing workflows so send me yours.







Thread
@michaelharley the thought of writing something long form on my phone is just no for me too. I write on a tablet (I don’t have a laptop), save as plain text, then switch to a desktop computer to do photos etc. (some scripts to help) and check out how the posts really look. Then I publish on a local webserver, leave it a bit, and edit/proofread from that. Make it live, add a mastodon post by hand, then dash back to the main computer to correct the inevitable typos I’ve missed.
@michaelharley Blogging about blogging is the best blogging!
This was a nice read, thanks for sharing your workflow ❤️
And since you asked, here's my flow current flow: https://hamatti.org/posts/how-i-write-and-publish-blog-posts-in-april-2025/
@michaelharley love blogging about blogging! I mostly subscribe to the same flow, although I do occasionally start a draft post on my phone if an idea is fresh on my mind and I’m not at my home office, mostly to remember what it was and then finish the thought and polish it once I’m at my desk. The web UI is pretty clunky on a small screen though even with matured CMS like Ghost, thinking about creating a markdown notes app that syncs to Ghost (and maybe others) though to help with that.
Same for me, except with publishing tools. It's fun to mess around with your Blog constantly, but I wanted to spend more of my time actually writing. So I went with more boring publishing tools that got out of the way.
Liked by Mike