How I use Home Assistant to automate and monitor my aquariums
 Michael Harley
15 min read
Michael Harley
15 min read
I feel the aquarium hobby is a retro hobby. Sure, the lights and filters have got much more expensive, and now rimless tanks are popular online, but the standard size tanks like the 40 breeder and the 75 gallon are the same footprint from decades past.
What can I automate? Can I improve monitoring and alerting? There are some off-the-shelf options like Neptune Systems Apex, but what could a person do with Home Assistant? That's what I'm trying to figure out.
Hardware
My home automation platform of choice is Home Assistant. This runs bare metal on a little mini PC NUC with the following specs:
- System76 Meerkat (Intel NUC10i3FNB board)
- Intel Core i3-10110U @ 2.10GHz, 4 threads
- 16 GB RAM
- 228 GB disk
- Home Assistant OS
- Zigbee: ZBT-2 and ZHA
- Z-Wave: ZWA-2 and Z-Wave JS
To enable all the automations I'm writing about here, each aquarium gets these smart devices. When relevant, I will call out the specific bit of aquarium gear I picked for how I need it to work with Home Assistant.
- Power Strip: Zooz Zen20 Power Strip. This has 5 regular plugs and 2 USB plugs, all of which can be individually controlled. This runs on my Z-Wave network. Each aquarium gets one.
- Temperature Sensor: Apollo TEMP-1 Temperature Sensor. This allows me to get the temperature into Home Assistant; it runs on ESPHome and connects via Wi-Fi. If aquariums are close enough together, a single sensor can have multiple probes.
- Water Leak Sensor: Zooz Water Leak Sensor. At least one goes into each plant saucer/catch tray that I use with my canister filters.
- Smart Button: Aqara Mini Switch. I can use these buttons at the tanks to trigger automations without having to fish out my phone. Single press, double press and long press are all available to do things like toggle the lights or activate maintenance mode.
- Automatic Feeder: Avast Labs Plank MINI. These feeders have no built-in schedules or batteries and that's what I like. When there's power to the unit, the corkscrew turns, dispensing food. To stop dispensing, turn off the power.
- Heater: Bulk Reef Supply Titanium Heater Element. These do not have built-in thermostats and plug directly into the Zen20. When the plug is powered on, it heats. To stop the heat, turn off the power. Easy peasy. The smallest these go are 100W and it's what I use in my 20 gallon long aquariums. In the 75 gallon display tank, I use two 200W heaters.
- Filters: Eheim Classic Canister Filter & Aquarium Co-Op Coarse Sponge Filter. I like having both a canister and sponge filter in my tanks. If my canister is clogged and I don't notice, the sponge can carry things until I do. In the event of a power outage, I can run the air pump for the sponge filters off a battery pack for a good long time. Finally, having a seeded sponge filter at all times is nice for quickly spinning up a new tank.
- Air Pump: Eheim Air. This pump has been the quietest in my experience.
- Lights: Hygger HG999. This is just a budget light but it's a good price and my plants seem happy. Works fine powering it off and on from the power plug.
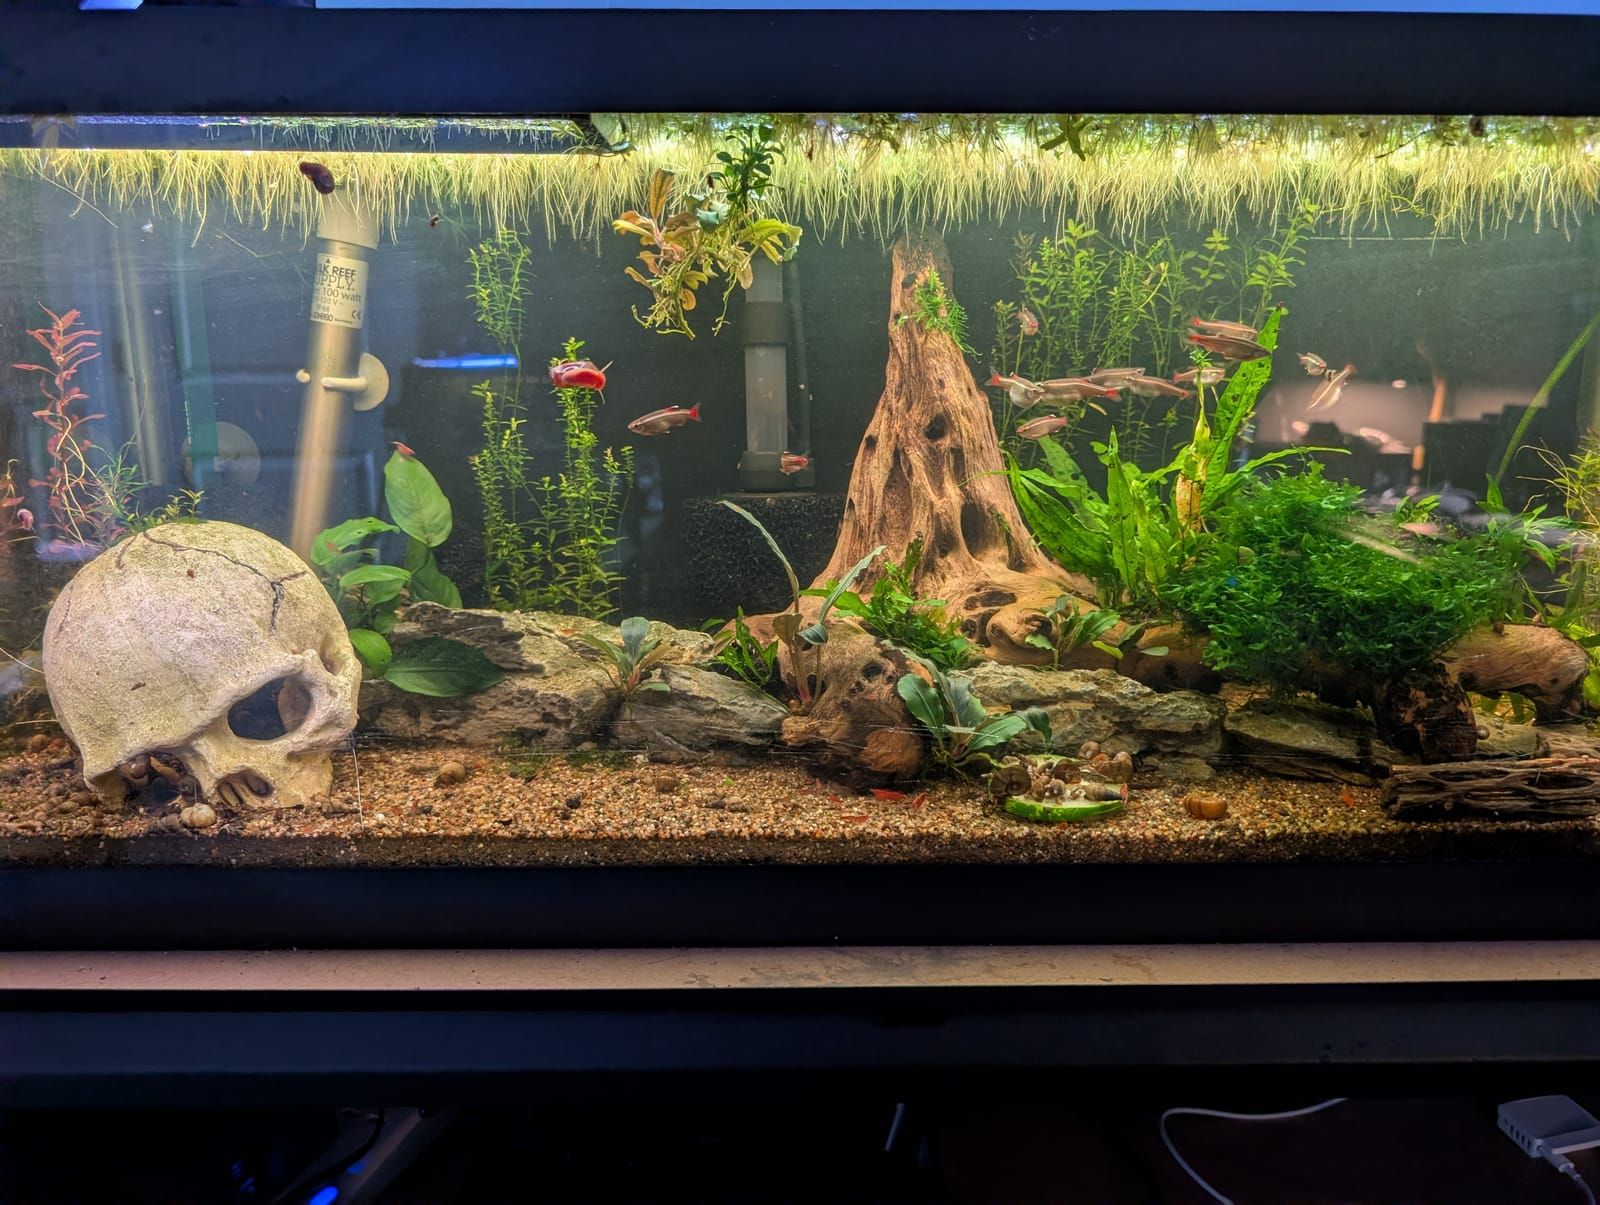
Aquarium 2! This is my "shrimp tank", which I put white cloud mountain minnows with. I'm rehoming the shrimpies and the minnows into a hillstream tank which is cycling now!
Lighting
Probably one of the easiest and most forgiving things to automate is the lighting schedule. I use Hygger HG999 lights with my tanks and they're fine for the price. If I plug the light into a smart plug, then it's easy to set a simple schedule to turn the lights on and off. The HG999 does have its own little controller, but it restores its previous state on power restore. So I just turn it on for the first time, set the brightness I want, and control it with Home Assistant via the smart plug.
Helpers
- Lights On Time: Date and/or time. Time only. Example: 7:30 a.m.
- Lights Off Time: Date and/or time. Time only. Example: 4:30 p.m.
- Lights On: Template binary sensor. It converts Lights On Time/Lights Off Time into an on/off state that then drives the automations. Example: On
Automations
Each tank gets two automations for lighting.
- Lights On: When the Lights On template binary sensor turns On, this fires and turns the lights on.
- Lights Off: This is the off version! When the Lights On template binary sensor turns Off, this fires and turns the lights off.
Dashboard
The dashboard gives me exactly one control for the lighting.
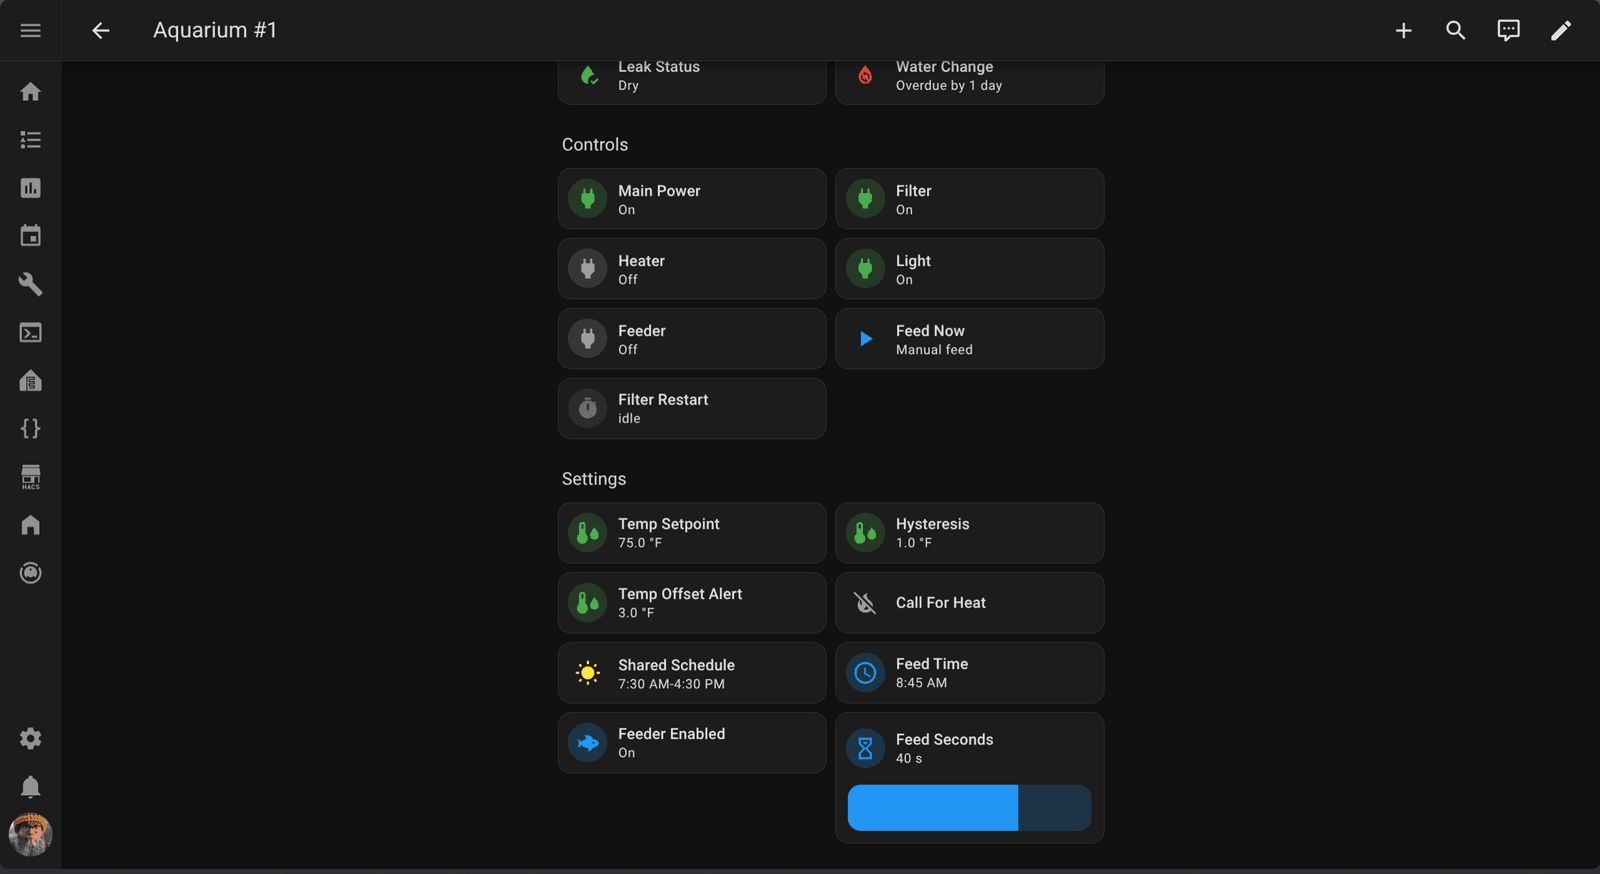
I have controls on each tank dashboard to do a manual feed, to adjust when the feed happens, a feeder master switch and the feed seconds.
Improvements
I plan to add a WLED light strip to each tank. The Hygger lights have morning, evening and night modes, which basically set the colors at a dim level. It's really more aesthetic, but I would like to be able to replicate that with my setup because I think it's cool. Plus, it seems the sudden on of the main light startles the fish, so I'd like to ramp up in the morning and ramp down in the evenings.
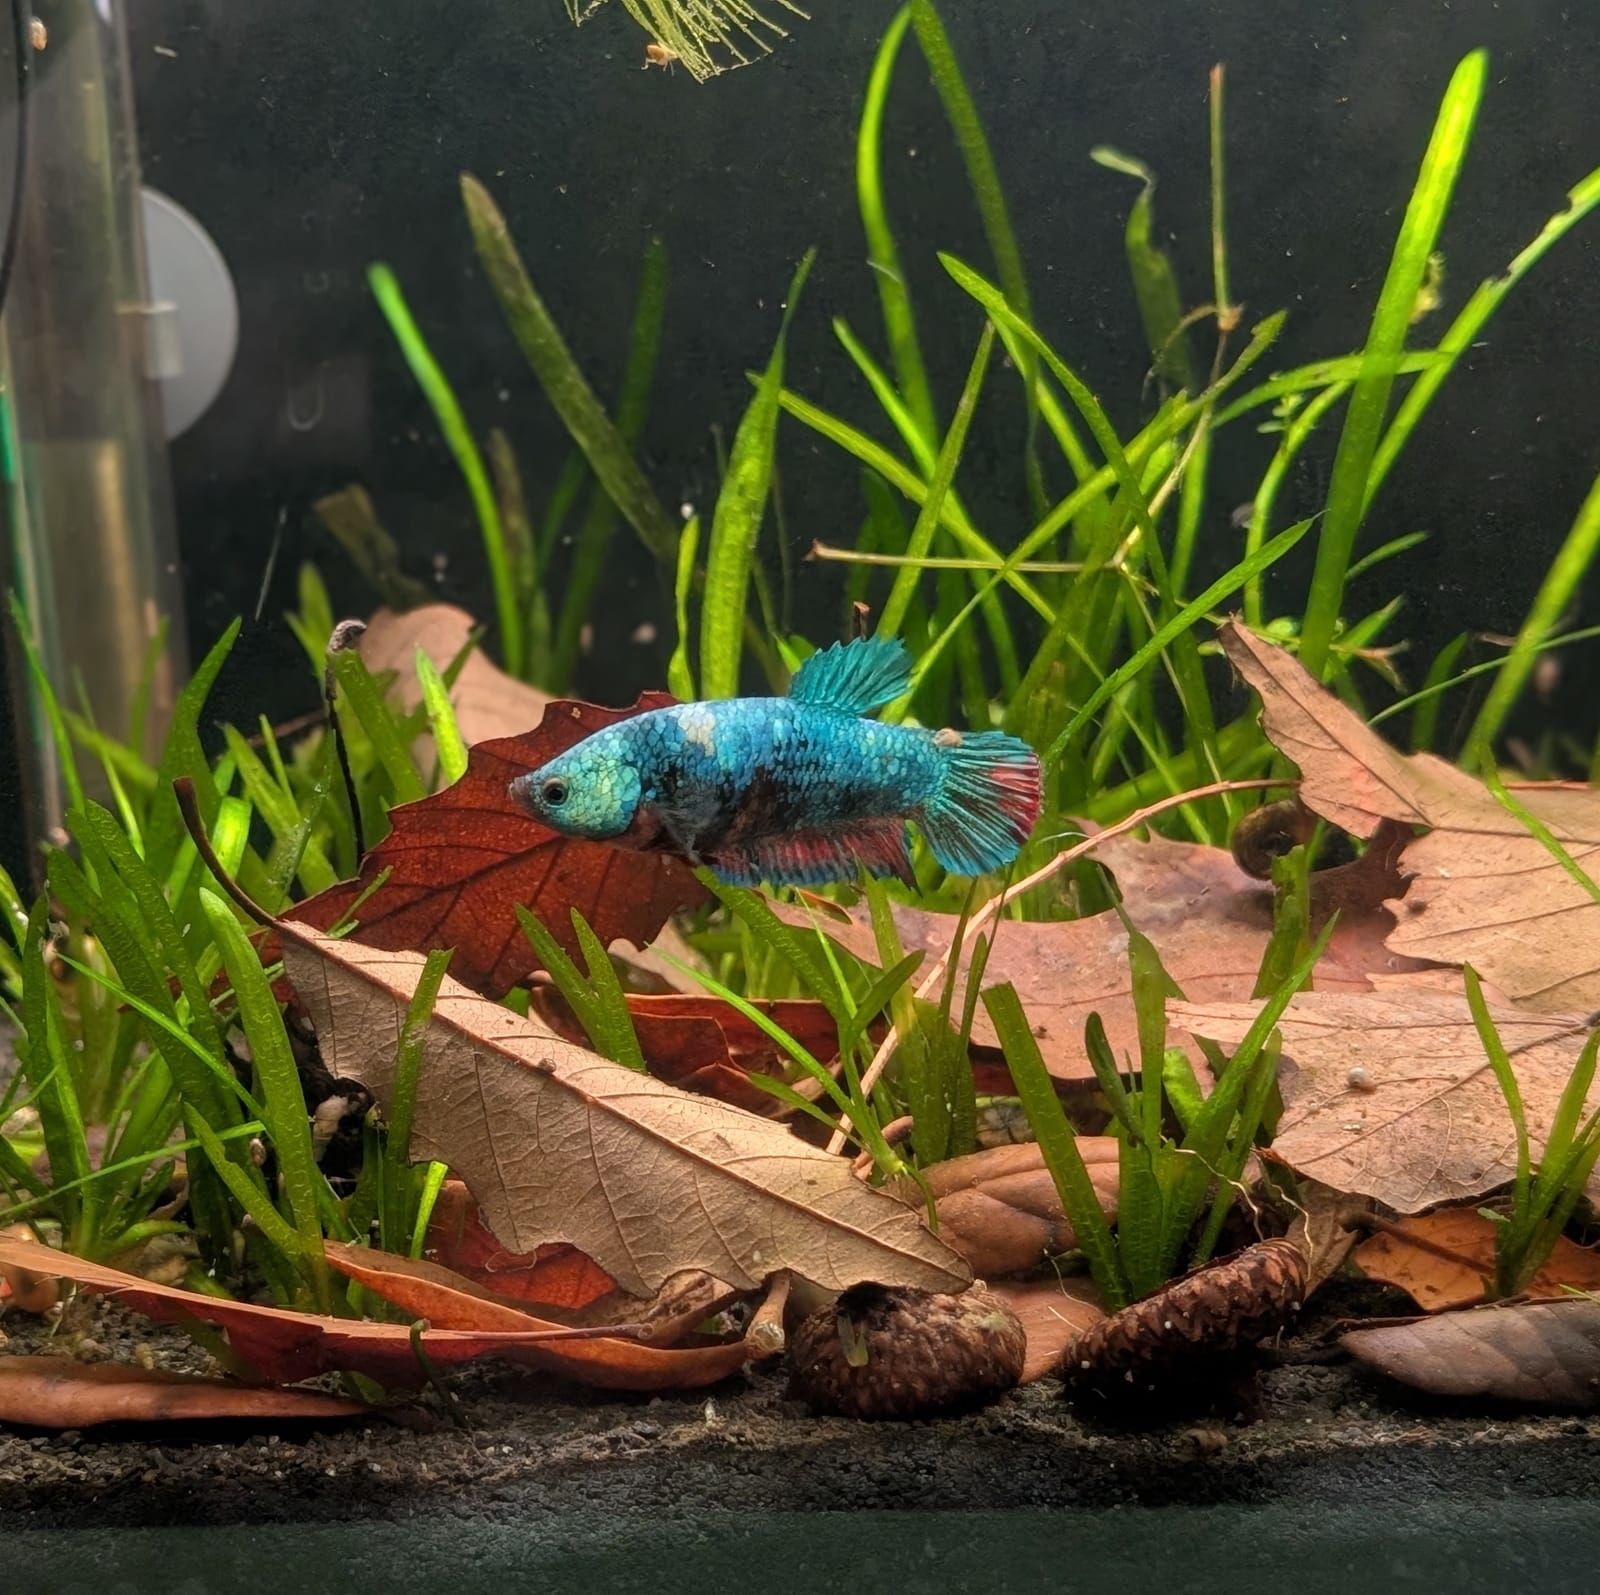
Tina!
Feeding
Feeding the fish is one of my favorite things about fish keeping. So why then would I want to automate it? Well, mostly to see if I can. But secondarily, it means I don't have to feed the fish every day if I don't want. I let the autofeeders dispense the dry pellets and I will supplement with frozen treats when I'm in the mood. Plus, if I automate the feeding like this, then I don't need to recruit anyone to come feed the fish while I'm away.
I knew I wanted to use automatic feeders with my fish. In my research, most hobbyists seemed to dismiss the idea as pointless and maybe even dangerous. Most of the anecdotes I saw were people using cheap barrel feeders like the Eheim Autofeeder while they were away, coming back to dead fish because the feeder dumped too much food into the aquarium.
Naively undeterred, I started experimenting with what was actually possible. I did try the cheap barrel feeders and yeah, they're not great. The dispensing bit is clunky and not very precise, plus there's no way to have a fasting day schedule with the barrel feeders I tried (Eheim and Aquarium Co-Op). That's where Home Assistant and the Avast Labs Plank MINI come in. This is a dumb feeder. If I plug it up, it runs the motor that spins the auger to dispense food. I then power off the plug to stop it. Hell yeah.
It actually took me a long time to find this feeder because I didn't know what to type into the search bar. Avast makes a regular-sized Plank, which is expensive. The mini is also expensive compared to the battery powered barrel feeders but I just squint my eyes and hit the buy button. Buy once, cry once, I always say.
This automation could be dangerous for my fishy friends so I spent a fair amount of time thinking through the edge cases and how this could fail. Accidentally dumping the full canister of food into the tank because a run got stuck would be a critical incident. Let's try not to do that.
The other failure mode is less critical. That's the feeder not dispensing food when I think it is, so I've also built some automations and monitors to try to catch this failure.
Helpers
- Feeding Enabled: Toggle. This allows me to arm and disarm the automatic schedule, should I for some reason want to turn off the automatic feeder without having to go around disabling automations. Example: On
- Feed Time: Date and/or time. This is when the food drops. Example: 7:45 a.m.
- Feeder Seconds: Number. This is the number of seconds the motor should run. I ran a few test runs of the feeder to see how much it dispensed and I continue to tweak this as needed. Example: 35
- Feeder Active: Toggle. The automations and scripts set this helper during legitimate feeding paths. Example: Off
- Last Verified Feed: Date and/or time. I use this helper to work out whether a scheduled feed actually happened. Example: August 24, 2026 at 7:45 a.m.
Automations
- Feed: The Feed Time helper triggers this automation. When the time arrives, it toggles the Feeder Active helper on, powers the feeder on, and the auger starts to dispense food. It waits the number of seconds I set in Feeder Seconds, then it powers the feeder off and toggles the Feeder Active helper off.
- Cutoff: This automation monitors for every edge case that I could think of that would cause an outlet to be on when it shouldn't be, then turns off the feeder and sends out all the alerts to all the places. There are three triggers:
- Overrun: If the outlet has been on past the max feed window, then this trigger executes. The max feed window is a hard-coded value of 120 seconds.
- Unexpected on: This trigger fires if the outlet came on with no feed running. A ghost Z-Wave command, a hand tapping the strip, a stale state restore. This branch only works because the automation switches the Feeder Active toggle helper on during a real feeding session. So the condition boils down to this: the plug on the feeder is powered on and the Feeder Active toggle helper is off.
- Startup recovery: This trigger fires if the outlet was already on when Home Assistant booted, which probably means HA rebooted mid-feed.
- Feed Verify: This runs a few seconds into a feed and checks the outlet is actually drawing current. If it is, it stamps Last Verified Feed. A relay can report a perfectly clean feed into a dead outlet and this is the automation that catches it.
- Feed Watchdog: This runs 15 minutes after the feed was due and alerts me if nothing stamped Last Verified Feed today. This one is for a feed that never ran at all.
Dashboard
I have controls on each tank dashboard to do a manual feed, to adjust when the feed happens, a feeder master switch and the feed seconds.
Heaters
Aquarium heaters are notoriously unreliable. The general advice on them is that they're so unreliable that fish keepers should replace theirs proactively, every 2 or 3 years. The main thing is the cheaply made thermostats on the heaters can fail in the on position, cooking all the fish in the tank. Or the glass can break, causing an electrocution risk.
Sources:
- Aquarium Heater Failures: How to Protect Your Reef Tank from Disaster
- 14.8. Aquarium Heaters
- Heaters – The Ticking Timebomb in Every Tank
Hobbyists recommend using a separate controller, like an INKBIRD. Then I'd just turn the thermostat up on the aquarium heater and let the INKBIRD control the temp. The INKBIRD is higher quality, one presumes, so is less likely to catastrophically fail. Instead of an INKBIRD, I decided to use Home Assistant as my controller.
To run the heaters, I use the Zooz Zen20 Power Strip, Apollo TEMP-1 Temperature Sensor, and the Bulk Reef Supply Titanium Heater Element. I'm choosing the BRS heater because it does not have a built-in thermostat. I power on its plug to run the heater and I turn off its plug to turn off the heater.
I've seen people say to get a standard aquarium heater and to set the temp a few degrees above the target so the external controller can drive the heater, but if the controller fails in some way, then the built-in thermostat can be the backstop. I reject that because if I don't trust the thermostat enough to run the heater, why would I trust it to be the backstop?
This is the most dangerous automation. A heater stuck in the on position can kill the fish in hours, so I've really spent a lot of time and energy to ensure I've accounted for the failure modes and edge cases that could cause the automations to fail. So far so good.
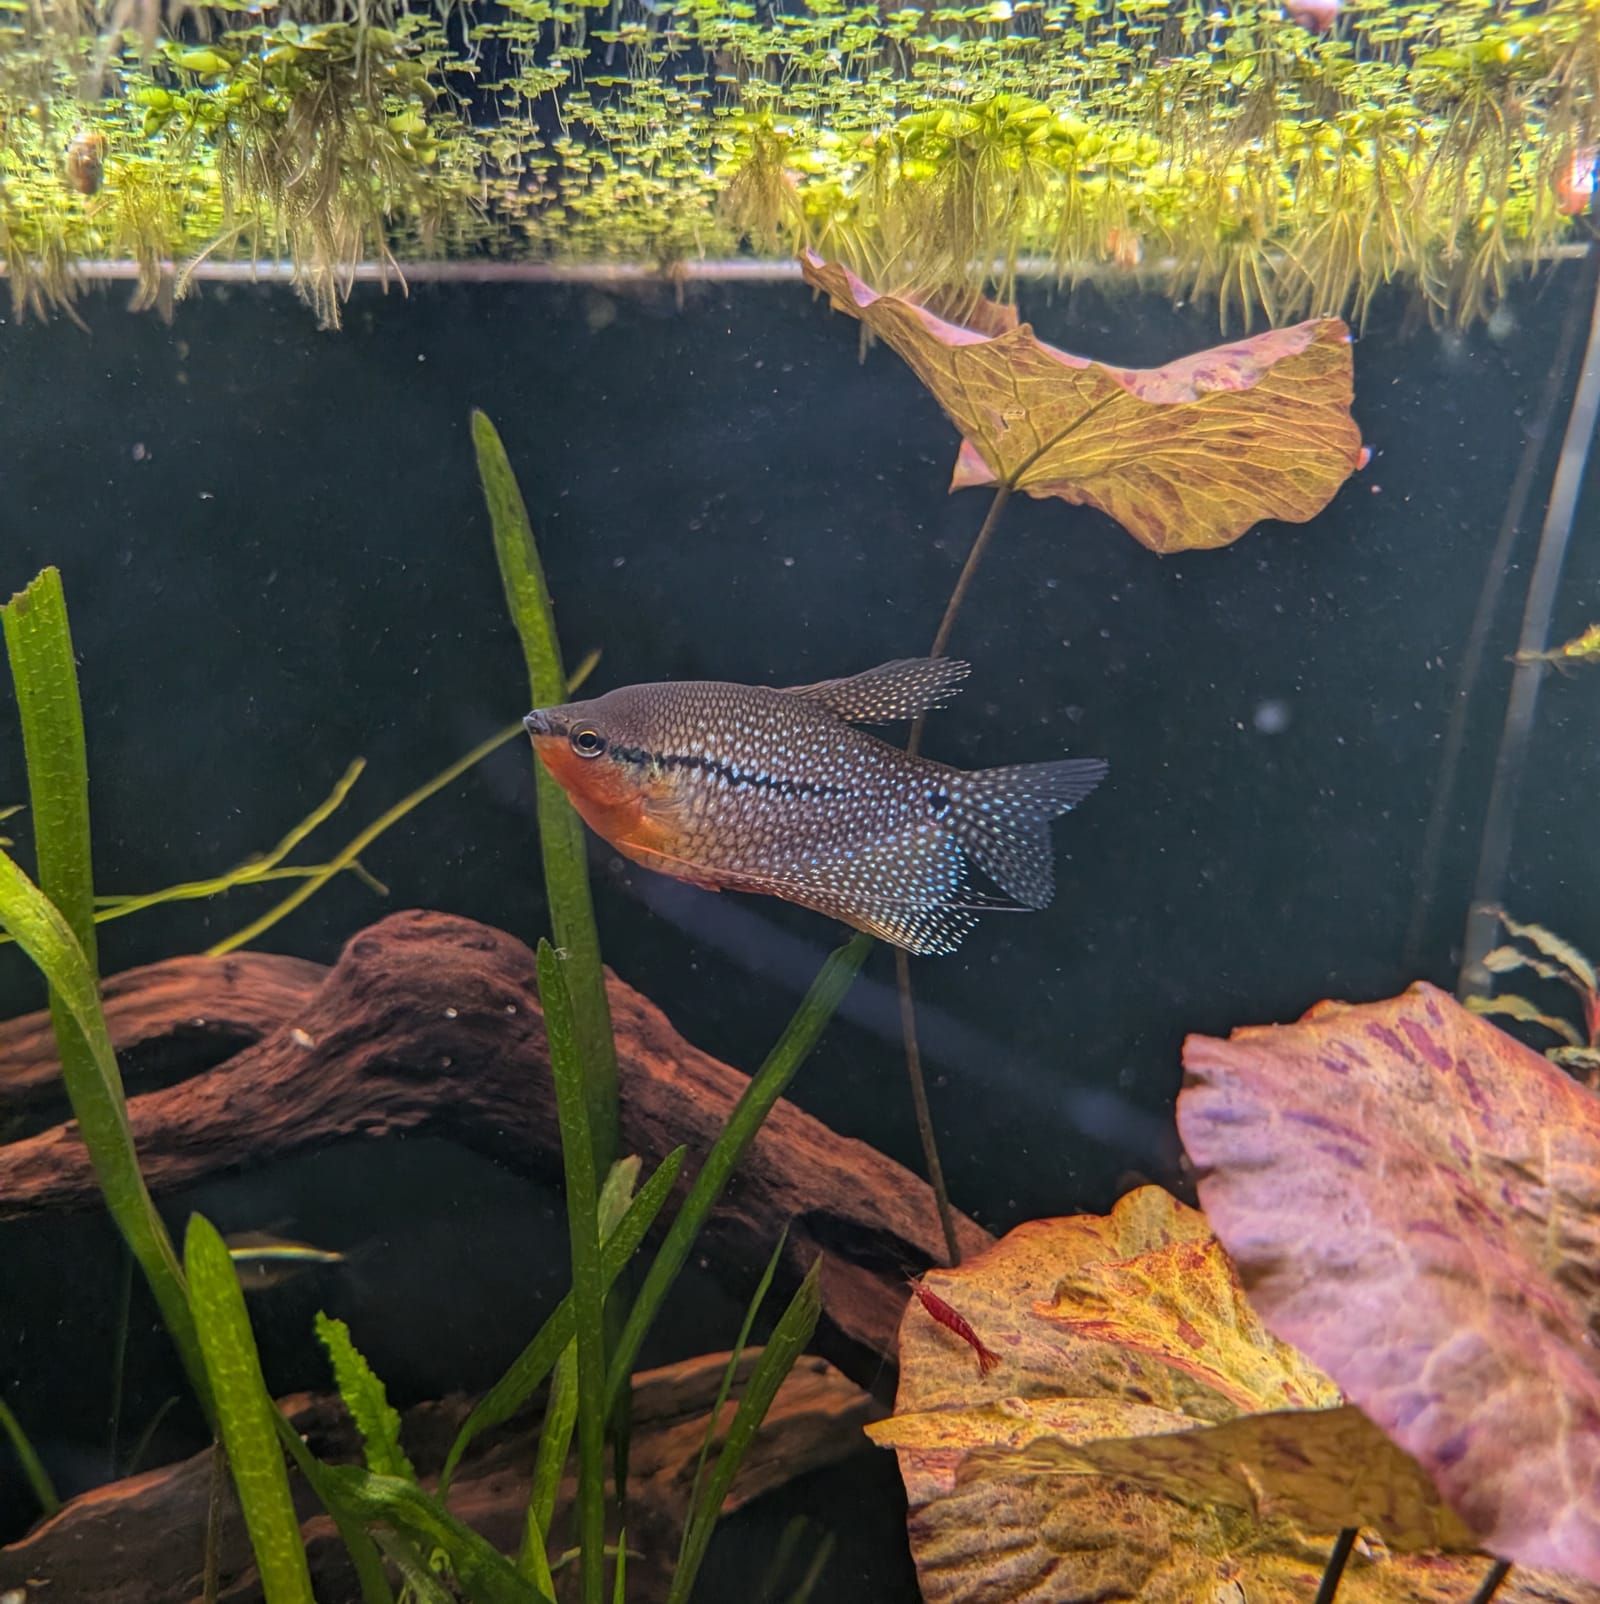
A male pearl gourami in the 75 gallon tank downstairs.
Helpers
If I were building this today, I'd just use the Generic Thermostat integration but I built this before I knew about the integration. There's little value that I can see to migrate to the integration so I'm just going to keep using my hand rolled solution.
- Set Point: Number. This is the target temperature of the aquarium. Example: 78
- Hysteresis: Number. I didn't know what this meant before working on this project but hysteresis is the gap you deliberately leave between the point where something switches on and the point where it switches off, so it doesn't flap back and forth every time the measurement wobbles across a single number. If I set the hysteresis at 1, then at 77.5, the heater turns on. At 78.5 it turns off. Hysteresis is basically the band of the swing. Example: 1
- Call For Heat: Template binary sensor. It reads the temperature probe, then compares against the Set Point and half the Hysteresis, then returns true or false depending on the target temperature and the actual temperature. It also reads its own current state, which is what creates the band: once it's on it stays on until the top of the band, and once it's off it stays off until the bottom. If the sensor is not returning a value, say the probe got unplugged, then it falls back to false so a heater can't get stuck on.
- Maintenance Mode: Toggle. Every tank gets a helper that allows me to put the tank into maintenance mode. This stops the filters and disables the heater so it's not running during a water change. It also holds off the temperature alerts, the sensor offline alert and the filter watchdog, because none of those are news while I've got my hands in the tank. Example: Off
- Temp Offset Alert: Number. This is the maximum amount of temperature swing, compared to Set Point, allowed before the system starts alerting. Example: 3
Automations
I use several classes of automations to run the heaters and verify everything is working correctly.
- Heater On: There are three triggers for this automation. When Call For Heat flips to true, when Home Assistant restarts, and when Maintenance Mode turns off. This automation is gated on Call For Heat, so when Home Assistant restarts, if Call For Heat is off then nothing happens. It's also gated on Maintenance Mode. If it's on, then do nothing because I'm doing a dang water change.
- Heater Off: There are also three triggers for this automation. When Call For Heat flips to false, when Maintenance Mode turns on and when Home Assistant restarts. Both Heater On and Heater Off fire on a reboot, so this one also carries the appropriate conditions to let the correct mode win.
- Low Temperature Alert: This triggers when a tank has drifted below setpoint by more than the alert offset.
- High Temperature Alert: This triggers when a tank has drifted above setpoint by more than the alert offset.
- Heater Stuck On: This triggers if the relay reads off while the heater outlet is still drawing over 20W. This is a critical automation and I've experienced this exact condition.
- Temperature Sensor Offline: This triggers if the temperature sensor is offline for more than five minutes.
Dashboard
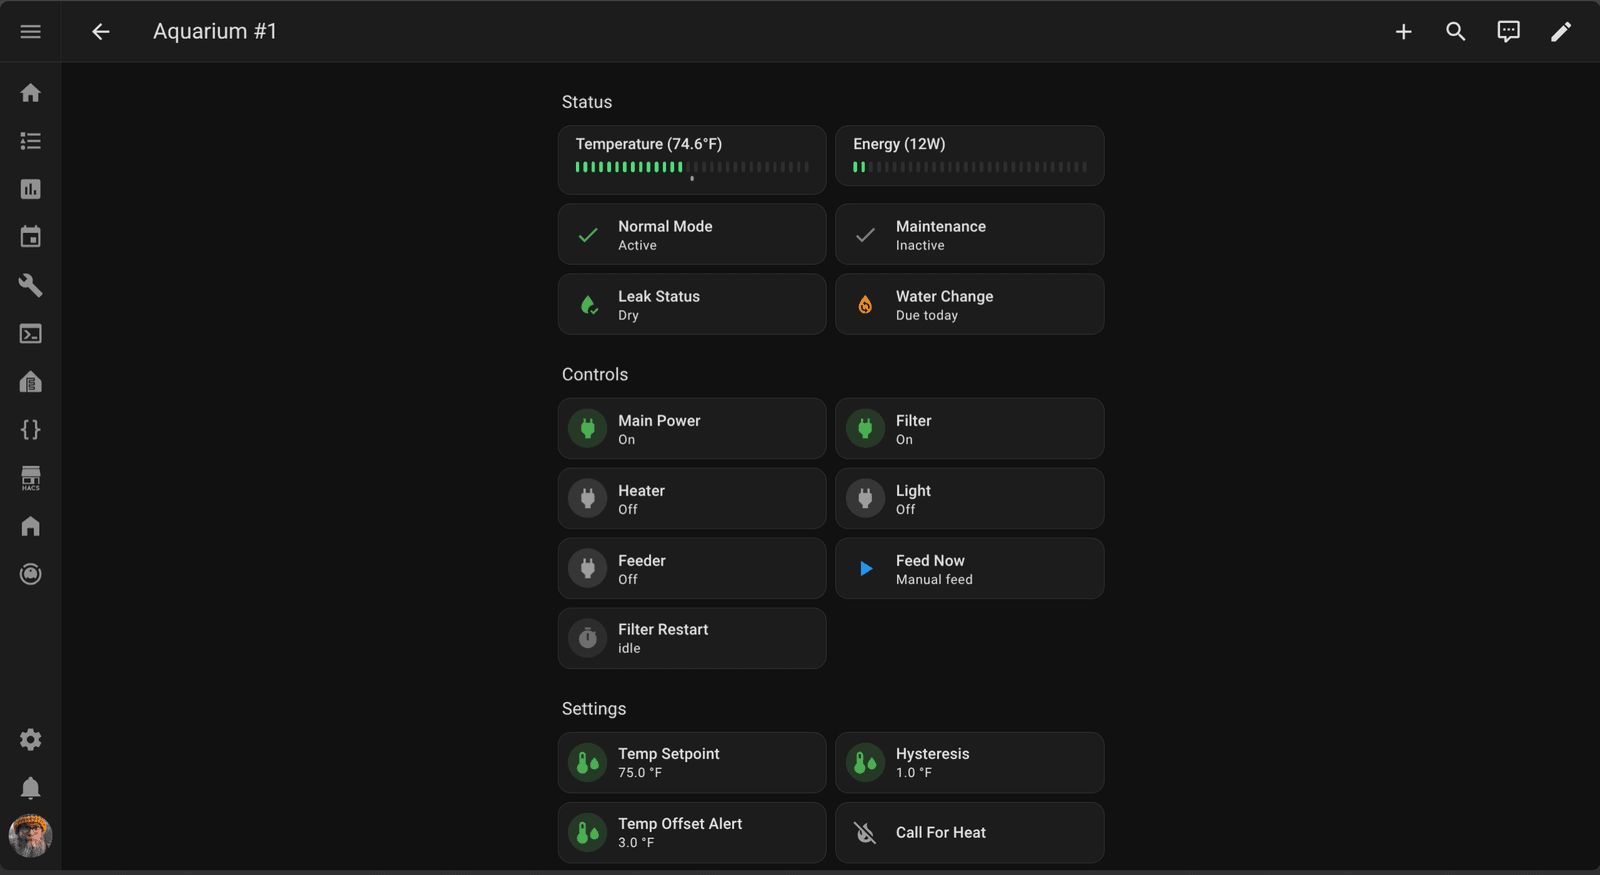
The dashboard for aquarium 1. At the bottom are the controls and dials for the temperature automations and helpers.
Leak detection
I have no idea if canister filters are more prone to leaking than hang-on-back filters, but if one of mine springs a leak, I'd like to know it. So at a minimum, each of my tanks gets a Zooz Water Leak Sensor that goes into the leak tray of each filter. I have a holding/QT tank that uses an undergravel filter and a hang-on-back. For that one, I put the leak sensor right under the hang-on-back in case it overflows.
I treat leak detection alerts as critical, so they play no matter the time of day or night.
Helpers
- Leak Detected: Toggle. When a leak sensor detects water, the automation toggles this On.
- Leak Detected Time: Date and/or time. This records the date and time of an active leak.
Automations
- Leak Alert: This automation fires when a leak sensor detects water. It repeats every 5 minutes while the probe reads wet, capped at 12 passes, so an unanswered leak nags for an hour and then stops. Each pass plays a prerecorded clip at full volume and sends a high-priority push alert to my phone.
- Leak Latch: This automation fires when a leak sensor detects water. It turns on the Leak Detected helper and sets the Leak Detected Time helper. I do this so a leak detection must be manually cleared.
- Leak Reset: This is actually a script, but it's what resets the Leak Detected and Leak Detected Time helpers. I clear the leak from the dashboard.
Dashboard
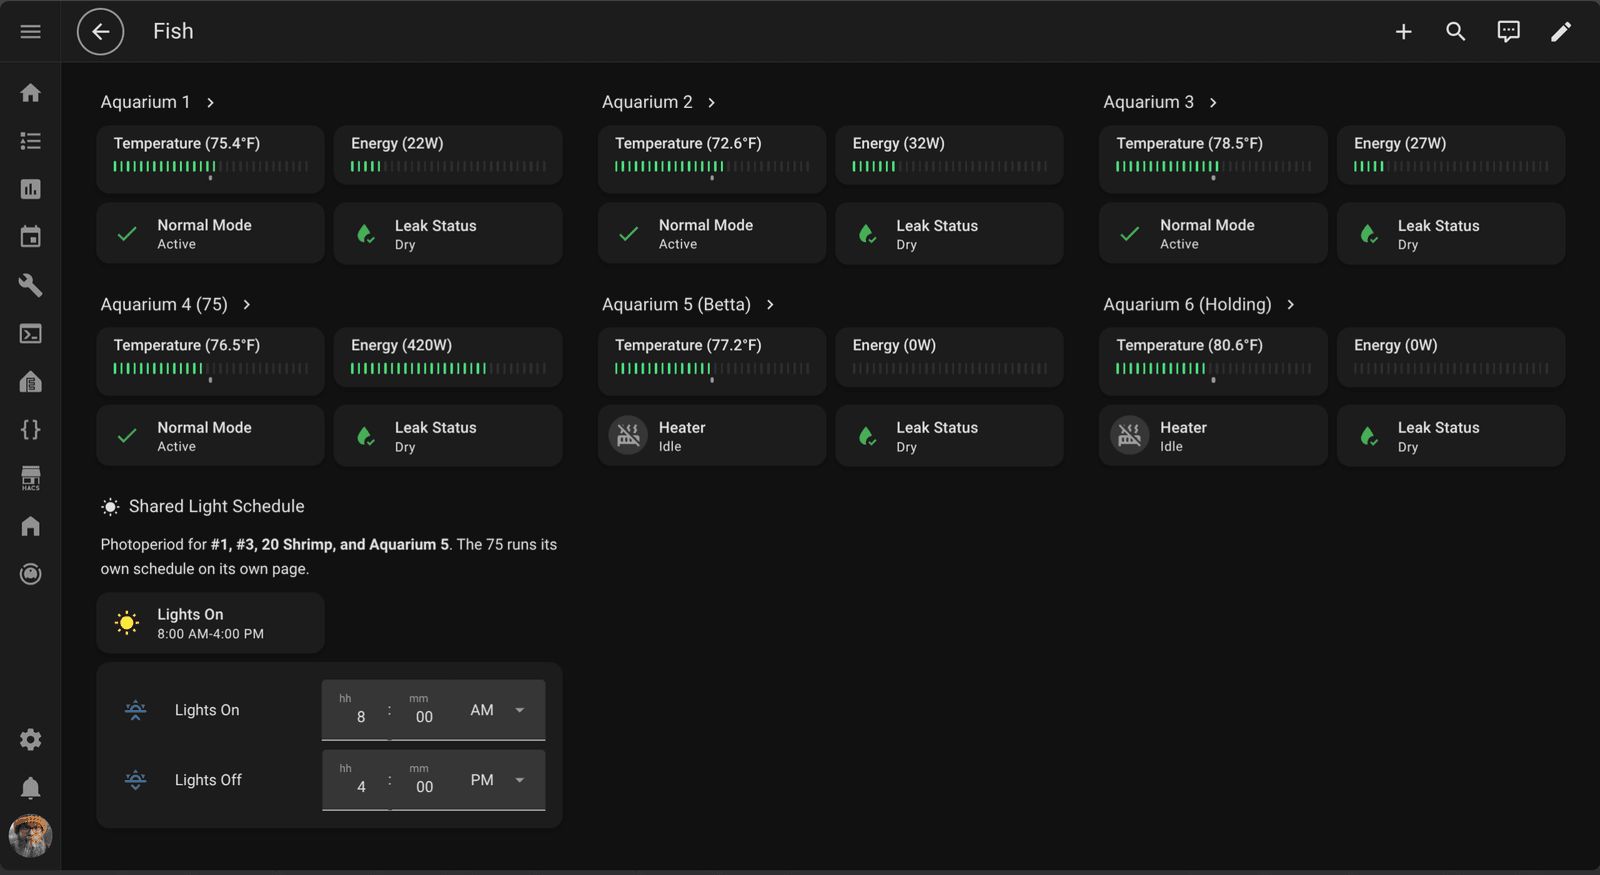
I show the leak status in several places in the UI. Here on the fish dashboard, plus the alert dashboard and each individual tank dashboard.
Alerts
Since Home Assistant is running important life support for my fishy companions, I've put a fair amount of thought into making my alerting system as robust as possible.
Everything related to life support gets both a voice announcement played loudly over our house speakers and a high-priority alert sent to my phone, with no consideration for hour of the day. If I have a water leak, then yes I want to be woken up so I can deal with it.
I prefer the Nabu Casa voices over the Piper voices, so I do use a cloud-based service for my TTS. What happens if there's a critical alert during an internet outage? The alert fails is what! To mitigate that, I made prerecorded announcements with the Nabu Casa voices, then I just cast the announcement over my local network to my media devices, no internet required.
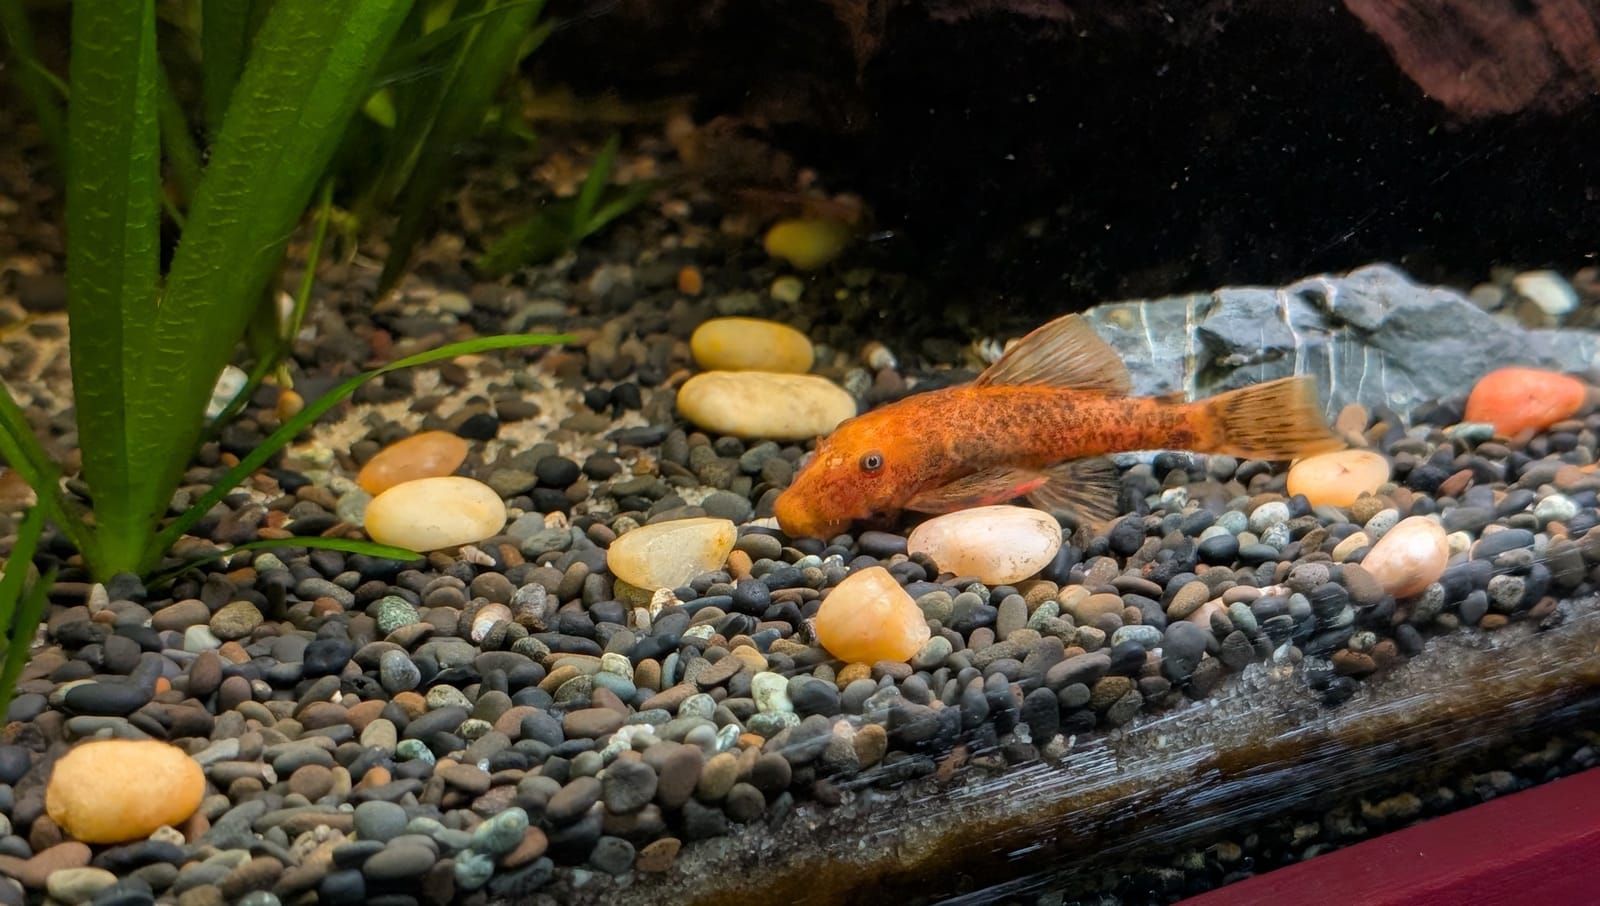
Super Red Bristlenose in the 75 gallon display tank downstairs.
Conclusion
So what can I automate and monitor? A fair amount, but nothing really groundbreaking, it turns out. I'm happiest with my solution for the automatic feeders. All the rest of it is mostly just nice-to-haves.
When I first started, I thought I might be able to monitor my water parameters like pH, ammonia, nitrites and nitrates, but that still doesn't seem possible. I was hoping for some probes, connected via ESPHome and reporting to Home Assistant. Alas, I use the API Master Test Kit like everyone else.
I think dosing would be trivial if I had the right type of doser, like this BRS model or even an Apollo PUMP-1 Fluid Pump for close to half the price because both work from just being powered on or off from the switch. I just manually dose my tanks weekly, plus I run low-tech tanks, so it's not strictly necessary.
I run my aquariums like a fleet and I use blueprints because if I need to adjust something, I don't want to make the same adjustment six different times. I've tried to create a system that I can replicate and stamp down when I add a new tank. Get the tank and hardware, run the onboarding script and boom, I have a tank!
Are you in the fish keeping hobby? If yes, I'd be curious how you do it. Are you strictly old school or do you have some automations? I'd be interested in hearing.








Thread
M meat via Lemmy
That's a really neat setup. Thanks for the details.
Very cool! I like your skull and fishies :)
I have an empty aquarium but am too ADD to do anything with, let alone automate anything.
This is awesome! As someone that has owned a number of aquarium books through my youth but never took the plunge I love the dedication.
Home Assistant has become my fitness tracker and so this post leaves me thinking about all of the edge cases people fold into the kit.. Here's to more write-ups like this; thanks for taking the time to share your hobby OP!
T ThePantser via Lemmy
Alternative to fish, I have this setup for my chickens.
They are due for their weekly maintenance, water tank is getting cleaned which is why its empty. Also the feeder is empty because a chipmonk destroyed the cover and its being rebuilt.
Very cool. 25 years ago I had also a lot of aquarium at home. I have started recently to start again with that, but this time with the help of of home-assistant. My main goal is to keep an eye on the water values, because this is the most complicated thing here.
Is there some cheap and simple way to watch water values with home-assistant? Specially nitrate, nitrite pH and so on. I don't want to deal with this useless color stripes again where I never can distinguish between the colors.
S shivvy via Lemmy
This is a fun writeup!
I have zero monitoring on my aquarium but have intended to do something similar - this might give me the push finally.
D doormatt via Hacker News
This is why you use multiple heaters - each one small enough that it cannot raise the temperature to above the danger zone if stuck on.
(Admittedly, this is harder to do on very small tanks)